
Solar Panel Installation: A Step-by-Step Guide
The installation of solar panel systems is popular today as people are embracing renewables as a result of rising energy costs and eco-friendly concerns. This makes solar power one of the most readily available options as it is technology-friendly and government-supportive policy friendly.
The installation of solar panels will lead to clean eco-friendly power generation and is beneficial to the environment. Long term investments show promise to generate savings while at the same time contributing to a cleaner environment.
The all-in-one strategy proprietary approach provided on this platform allows for ease of understanding in each section of installation. Hence the provided pivot diagram guide is adequate for all-seven stages, starting from the initial survey powering households with eco-friendly energy to solar panel installation.
Check our Step by step guide in the succeeding chapters that aim at powering your home with clean different types of solar energy.
Step-by-Step Solar Panel Installation Process

A complete guide to each stage of installing a solar power system:
Step 1 - Site Survey
We kick off the steps needed to prepare your site with a comprehensive site survey. This step can only be carried out by a qualified technician whose job is to ensure that solar panels can be installed onto your home or building. Specifically, making sure that the space in question has unobstructed sunlight as well as the structural integrity to house the solar panels.
As a rule of thumb, site surveys cover the following steps:
- Looking at the roof’s structure including the tilt and the direction it faces
- Investigating prospective shadiness from pillars, nearby buildings or trees
- Evaluating the amount of space that is accessible for the panels, wiring, inverter, and even the switch
- Examining the electric load and the existing connection points
If you are searching for resources that would help you understand how solar panels work, we invite you to read our blog on the mechanics of solar panels.
Step 2 - System Design and Engineering
After the site has been approved, we move forward to System Design and Engineering. This particular step includes the design of a solar solution that is tailored specifically to meet energy requirements as far as the property conditions are considered.
Components that are key and were decided upon in this primary step include but are not limited to:
- Estimations of solar panels needed based on average daily usage
- Selection of the type of the panel from either monocrystalline or polycrystalline.
- Specifics of the solar inverter to use which may be string, micro or hybrid
- Wiring layout and safety devices
Step 3 - Permits and Documents
Before starting any work, solar systems need to be vetted by the local utility company and the government. Most solar providers offer assistance with the important documentation needed.
Some of the documentation needed includes:
- Application for net metering with DISCOMs
- Electrical safety endorsement from a qualified person
- Permission for installation from either municipality or society
- Application for state/central solar subsidies (if they are being provided)
Completing this process may take several days or even weeks based on local requirements, although this is important for linking your system to the grid in a legal manner.
Step 4 - Purchasing Equipment
Now, the installer starts purchasing the equipment. This step includes acquiring all components required for the installation of the solar panels.
The following components are foundational:
- Solar panels (with 25-year warranty, the better option is MNRE-approved Tier 1 panels)
- Inverter (depending on system type; grid tied, hybrid, off-grid)
- Mounting structures (commonly galvanized iron or aluminum)
- Cables and MC4 connectors (weatherproof and UV resistant)
- Backup batteries (optional)
Step 5 - Installation of Solar Panels
The first step is to prepare the roof and mount the solar panel structure before securing it on. Steps involved in solar panel installation:
- Attaching the mounting framework to the roof surface
- Tiling and positioning the panels within the appropriate angle of inclination
- Safeguarding the panel against solar winds and other weather conditions
- Arranging the panels in a way that minimizes shading effects between rows
Step 6 - Electrical Wiring
The next step is wiring, where the panels are connected to the inverter and integrated with the power system.
- Connecting the panels in series or parallel as per the system’s design
- Running DC cables from the solar panels to the inverter
- Adding isolators, surge protection, and junction boxes
- Maintaining adequate earthing and grounding so as to eliminate electrical hazards
Proper wiring with reliable fasteners is the cornerstone of the system’s performance reliability and overall durability.
Step 7 - Connecting to Inverter
The inverter is important as it enables utilization of solar energy by changing it into electricity. The inverter converts the direct current (DC) produced from the panels into alternating current (AC) to be used by appliances in the home.
Process of Connecting an Inverter Includes:
- Connecting the DC Cables from the Solar Panels to the Inverter
- Linking the Inverter’s AC Output to the Home's Main Power Supply
- Setting Up Monitoring Systems (mobile application/web-based)
- If it is a hybrid system, connecting the battery and the grid.
The inverter device provides data in real-time about the generation of solar energy, the savings made, and the health of the system.
Step 8 - Net Metering
Connection to the grid is essential for net metering setup where maximum savings must be achieved. This gives the ability to sell excess electricity to the grid and receive credits.
How the net metering works:
- The meter shows the energy consumed as well as the energy forwarded to the grid.
- Some states pay for the surplus units provided to the grid.
- This system allows ensuring value for every unit of energy produced by solar powering plants.
Step 9 - Testing and commissioning
The system should be run in a comprehensive test of safety and performance which is based on set criteria to ensure everything functions before going live.
- Checking Panel Voltage and Current Output
- Inverter Input/Output Alongside Safety Setting Checking.
- Syncing Of Net Meter Synchronous With Remote Monitoring And Its Function
- Switching The System On After Checking Everything Is In Order To Start The System Earning Clean, Renewable Energy This Marks Clean Energy Generation
Step 10 - Maintenance And Monitoring
The Clean Energy Monitoring Systems Assure That The Panels Are In Good Working Order Although Solar Panels Require Fewer Interventions, Routine Maintenance Will Assure Maximum Solar Clean Energy Generation. These Tools Make It Possible To Track Volunteered Energy It Is An Excellent Earning System System Performance, As Well As Correct Problems At An Early Stage.
Recommended Techniques For Maintenance And Monitoring:
- Use Soft Cloth Along With Water To Clean The Panels Every 2 – 4 Weeks.
- Use Inverter Apps For Daily Monitoring Of System Output.
- Get A Professional To Inspect The Solar Panel System Once A Year.
- Make Sure That Trees And Other Structures Do Not Start At Any Point Blocking The Panels' Sun Exposure.
Since you already understand the installation steps, perhaps you're asking which type of solar panel is appropriate for your home. Read our guide to choosing the best solar panels for home use for more information.
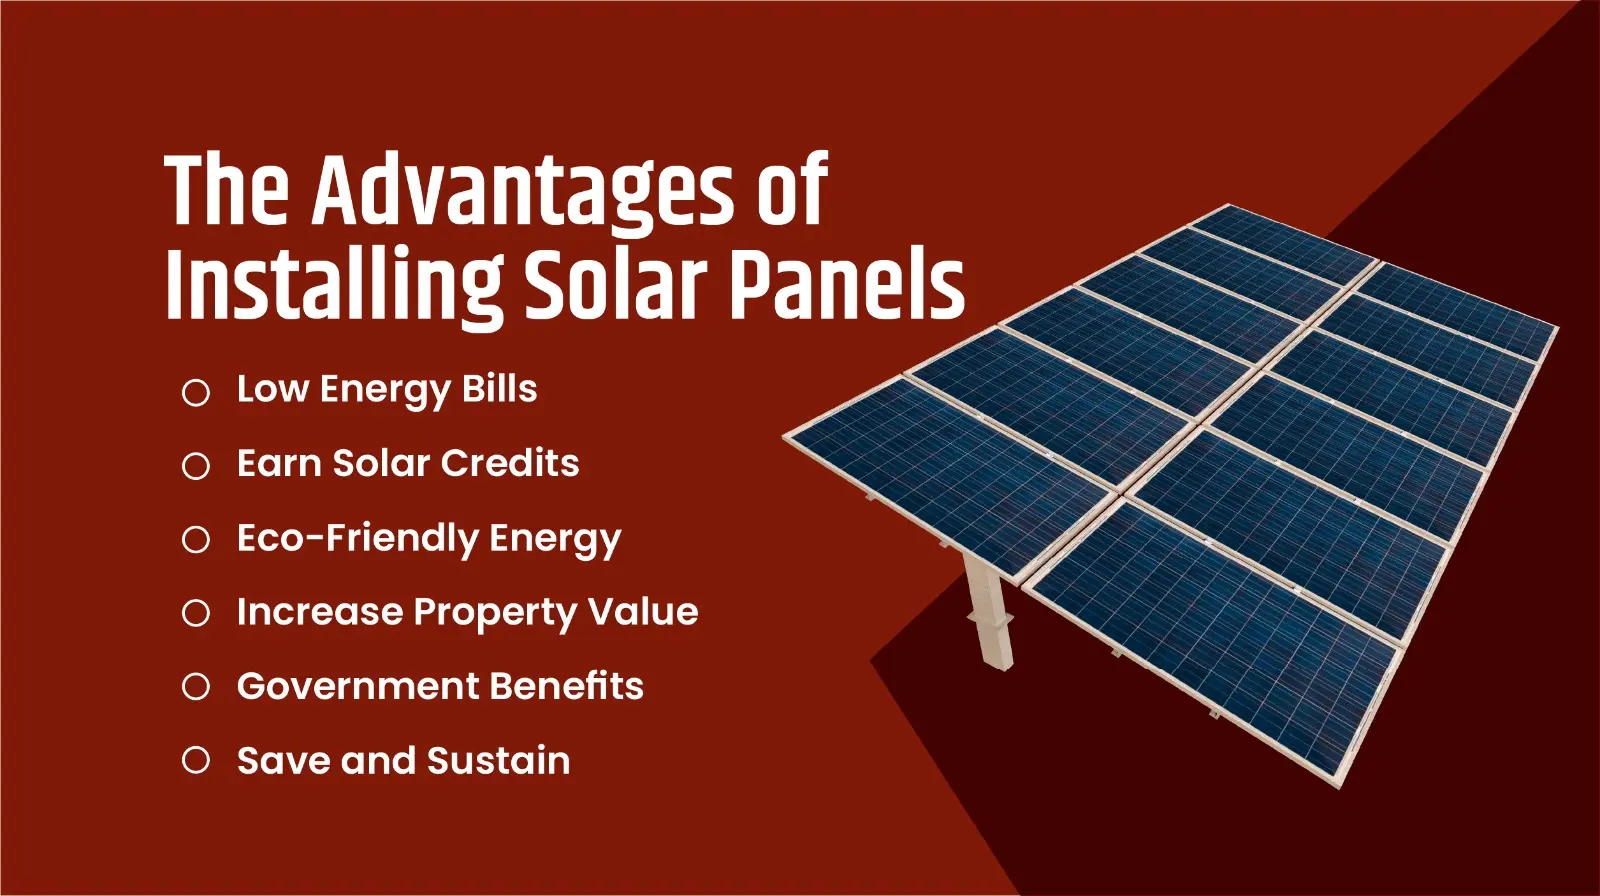
Top 6 Advantages of Installing Solar Panels
If You Are Not Sure Whether To Switch To Solar Panels, Let Us Give You Some Benefits Of Installing Solar Panels That Make The Process Simple:
Low Energy Bills
By installing solar panels, you are increasing your monthly electricity revenue as you are powering your home with generated energy. This leads to savings over time which increases with rising utility expenses.
Earn Solar Credits
Excess power produced by your solar system can be sent to the grid and you can be paid or get credits for it through net metering. With solar investment, your home transforms into a power plant.
Eco-Friendly Energy
Renewable energy such as solar power does not release any toxic radiation or waste capturing pollutants. The switch to solar reduces carbon emission and supports a solar system.
Increase Property Value
The addition of solar peripherals attracts more investment. Properties with solar panels become highly preferred due to the lowered utility expenses and sustainable power options.
Government Benefits
Solar panels offer a government sponsored tax benefit for installation and qualify for a financial subsidy. Their peace of mind guarantees a warranty of 25 years with the solar equipment.
Save and Sustain
When you choose to go solar, you save money and contribute to global sustainability. Going solar is beneficial for your wallet as well as the planet.
Conclusion
Even if the solar panel installation process seems lengthy, remember that every step is crucial for safety, efficiency, and long-lasting performance. From the initial site survey to the final switch-on, having a reliable solar provider by your side makes all the difference.
With this guided outline, you now understand what to expect throughout the solar panel installation process. Join the revolution of energy self-reliance and begin your solar saving journey now!